
Transparent PNG
How to make a transparent PNG that is actually reusable.
4 min read · RemoveBGAI Team

A transparent PNG is one of the most reusable file formats in everyday digital work. Once the background is removed and the result is saved as a PNG, the subject can be placed on any color, background image, or design layout without re-editing the original file. This guide covers when and why to use transparent PNG, how to create one cleanly, and the common mistakes that make the result less useful than it should be.
Try the editor
Remove backgrounds from your next image with RemoveBGAI
Remove BackgroundWhy PNG and not JPG
JPG does not support transparency. When you save a cutout as JPG, the software has to fill the transparent area with something — usually white. That means every JPG export from a background removal workflow is already flattened, which limits how it can be reused. If you later need the subject on a dark background or a brand color, you have to repeat the removal from scratch.
PNG preserves the transparent channel. The pixels where the background used to be are stored as fully transparent in the file, and any tool that renders the image — a browser, a design application, a slide deck — shows the underlying surface through those pixels. That makes a transparent PNG the right master format for any subject you expect to use in more than one context.
When transparent PNG is the right choice
- Logos that will appear on web pages, documents, presentations, and branded materials with different background colors.
- Product photos reused across a website, ads, email campaigns, and marketplace listings.
- Profile pictures and headshots placed on different platform backgrounds.
- Signature files inserted into PDFs, contracts, and form submissions.
- Icon and graphic assets used inside design tools like Canva, Figma, or PowerPoint.
- Any subject that will be dropped onto multiple different backgrounds over time.
How to create a transparent PNG step by step
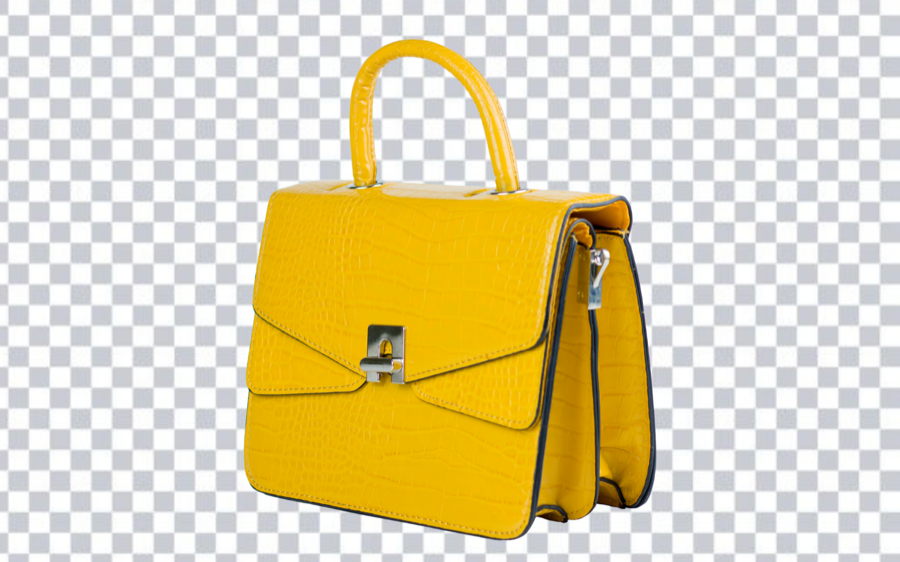
Upload your image to RemoveBGAI. The browser-based model separates the subject from the background automatically. After processing, you see the subject on a checkerboard pattern, which is the standard visual indicator for transparency in image editors — it means those areas will be invisible when the file is placed on any other surface.
Before downloading, toggle the preview background to dark and check the edge. A clean transparent PNG should show no fringe, no residual background color, and no missing pieces of the subject around the boundary. If the edge looks acceptable, download as PNG. If you see a pale outline or rough edge, try uploading a higher-resolution or less compressed version of the original image.
Saving and using the file correctly
Save the transparent PNG at the highest resolution you need. If the image will appear in multiple sizes, save it large and scale it down in each destination rather than saving multiple smaller exports. A large master is more flexible than a small one.
Keep the transparent PNG as the master file separately from any flattened versions. When a destination requires white background or a specific color, create that export from the transparent master on demand. This workflow saves time because the removal step only needs to happen once regardless of how many different background colors or layouts are needed later.
Common mistakes
- Saving as JPG immediately after background removal and losing the transparency.
- Only previewing the result on white — pale edge fringe is invisible on white but obvious on dark.
- Using a small or compressed source image and expecting sharp edges in the output.
- Treating the white-background export as the master instead of keeping the transparent version.
- Forgetting to check semi-transparent elements like glass, thin fabric, or wispy hair.
How to confirm that transparency is real
A checkerboard preview is a visual convention, not part of the image. After removal, switch the editor between Transparent, White, and Black. If the subject stays the same while the surface behind it changes, the cutout contains transparent pixels. Download it as PNG and reopen it in a tool that supports transparency to verify the saved file.
Do not take a screenshot of the editor preview. A screenshot captures whatever surface is visible behind the subject and turns the result back into a flat rectangular image. Use the Download PNG action so the alpha channel is retained.
A practical master-file workflow
Keep one full-size transparent PNG as the master. From that file, create smaller website images, white-background marketplace images, social graphics, and presentation assets. This avoids running removal repeatedly and reduces the chance that slightly different edges appear across channels.
Use descriptive filenames such as product-name-transparent-master.png and keep flattened variants separate. When the destination does not accept PNG or produces an unexpectedly large file, make a copy in the required format instead of replacing the transparent master.
Common transparency failures
- Exporting as JPG, which has no alpha channel and cannot store transparent pixels.
- Viewing the result in an app that displays transparency as white and assuming the background returned.
- Leaving a pale fringe that is invisible on white but obvious on dark layouts.
- Downscaling too early and losing fine edges before the final design size is known.
- Uploading the preview screenshot instead of the downloaded PNG.
Try the editor
Remove backgrounds from your next image with RemoveBGAI
Remove BackgroundReader questions
Can I convert a logo or screenshot to transparent PNG?
Yes. Logos and screenshots are among the most common inputs for transparent PNG creation. A logo on a white JPG background can be processed to remove the white and exported as a transparent PNG. Screenshots of UI elements, icons, and product images work the same way. The cleaner and higher-resolution the source file, the better the transparent edge.
Does a transparent PNG look different on different backgrounds?
The subject looks the same on any background — only the surface behind it changes. A logo exported as transparent PNG will appear correctly on white, black, brand colors, gradients, and background images without any re-editing.
Is transparent PNG the same as removing the white background?
Yes, in practice. When you remove a white background and export as PNG, the white areas become transparent. The result is the same: a file where the subject is visible and the surrounding area is see-through.