
Tutorials
How to remove background from image files without a slow manual workflow.
5 min read · RemoveBGAI Team

Removing a background from an image used to mean opening Photoshop, drawing a selection path around the subject, refining edges manually, and exporting carefully. Today a browser-based tool handles most of that automatically. This guide explains how the practical workflow actually works, what inputs give the best results, and how to choose the right export format for what you plan to do with the file.
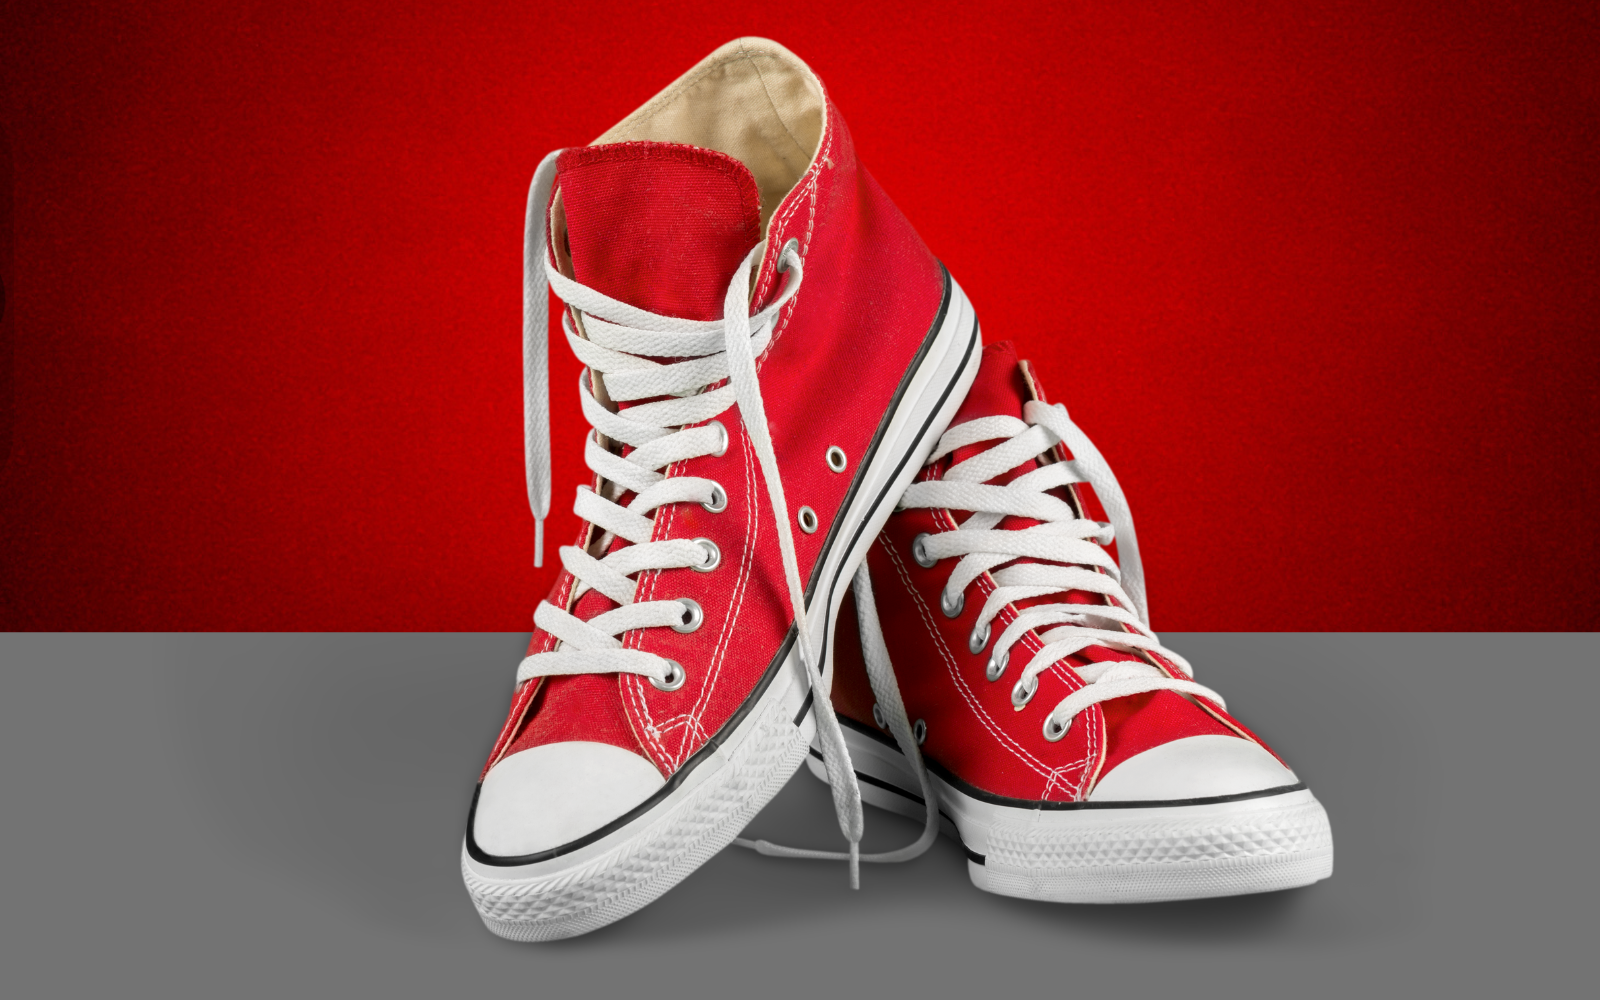
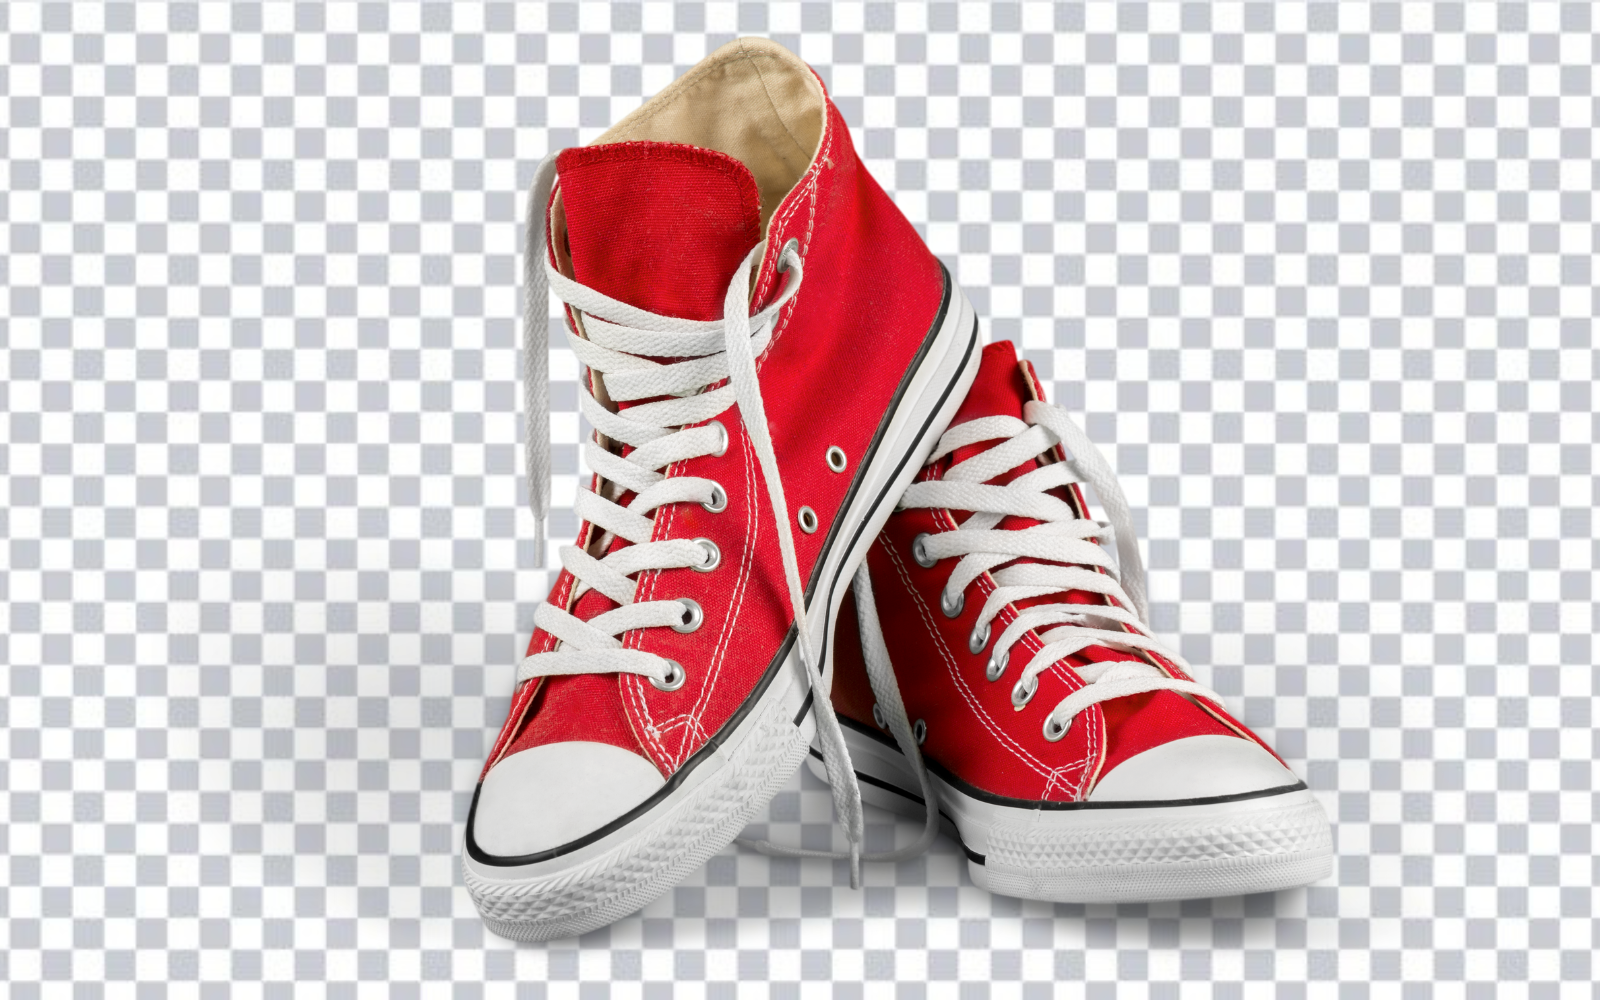
Try the editor
Remove backgrounds from your next image with RemoveBGAI
Remove BackgroundStart with the right image
The quality of the output depends heavily on the quality of the input. Cleaner lighting, stronger contrast between the subject and background, and tighter framing all make background removal more accurate before any processing starts. If the subject blends into the background — a dark jacket against a dark wall, or pale skin against a beige surface — the model has less signal to work with and the edge becomes less precise.
Use the sharpest version of the image available. If you have multiple exposures or a burst of frames, choose the one with the clearest edges. Avoid images that have already been run through chat apps, social media uploads, or repeated JPEG re-saves, because compression bakes noise into the edge area and makes separation harder. A PNG or high-quality JPG directly from the camera or original export is almost always the better input.
How the removal process works
Modern browser-based background removal uses machine learning models that have been trained on large image datasets. The model predicts, for each pixel, whether it belongs to the foreground subject or the background. That prediction is used to generate a mask, which is then applied to separate the subject from the scene.
The process runs entirely in your browser — your image is not uploaded to an external server. The model is loaded once and cached locally, which means processing is fast after the first use. Results are immediate for most standard images. Complex subjects with fine hair, semi-transparent elements, or backgrounds that share colours with the subject may take more review before the result is ready to use.
What to check before downloading
- Preview the cutout against a dark background, not just white — pale edge fringe only shows up on dark.
- Check fine hair strands, ear edges, and loose fabric at the frame boundary.
- Look for any areas where background colour has been partially retained inside the subject.
- For product photos, check transparent elements, reflective surfaces, and base shadows.
- Zoom in on the most detailed part of the edge before approving the result.
Pick the right export format
Use transparent PNG when the subject needs to sit on multiple backgrounds, get dropped into design tools, or be reused in different layouts over time. PNG preserves the transparent area so the removed background stays removed in every future use. This is almost always the right choice for a master file.
Use white background JPG or PNG only when the final destination specifically needs a flat image — a marketplace product listing, a document embed, or a platform that does not render transparency correctly. Even then, keep the transparent version as the master so you do not have to repeat the removal later if requirements change.
When online tools reach their limits
Browser-based background removal handles most product photos, portraits, logos, signatures, and simple graphics well. It becomes less reliable on images with very complex hair and fur at the edge, motion-blurred subjects, transparent or glass objects where the background shows through the subject itself, and very low-resolution or heavily compressed inputs.
For those cases, the options are to retake the photo with better background contrast, use a higher-resolution source, or accept that the result will need a manual touchup in a more capable editor. Most everyday background removal jobs do not reach these limits.
The exact RemoveBGAI workflow
Start on the homepage and choose a JPG, PNG, or WebP file. The image is handed to the editor, where the removal model loads only after you begin processing. Processing happens in the browser, so the original file is not sent to a RemoveBGAI application server. The first run can take longer because the browser must download the model; later runs may benefit from the browser cache.
When processing finishes, use the Before control to compare the source with the cutout. Do not judge only at fit-to-screen size. Look closely at hair, spokes, handles, transparent plastic, soft fabric, and any area where foreground and background colors are similar. These are the places where automatic segmentation is most likely to need a different source photo or manual finishing in another editor.
Choose the output before downloading
Leave the background set to Transparent when the image needs to be reused in a design, presentation, product card, or website. Choose white or another solid color when the destination requires a flattened image. You can also upload a replacement background, but check that its lighting and perspective make sense beside the subject.
Download PNG when transparency matters. If you process several images in one session, the ZIP option packages the available PNG results together. Keep the original photo as well as the exported cutout; background removal is destructive from the point of view of the finished file, and the source is the only reliable way to make a different cutout later.
When a different source image gives a better result
- Use an image with clear contrast between the subject and the background.
- Avoid motion blur and very small subjects; missing source detail cannot be reconstructed during removal.
- For reflective or transparent objects, photograph against a plain contrasting surface and expect some manual refinement.
- If fine hair disappears, try the original full-resolution image instead of a compressed social-media copy.
- Preview the cutout on both black and white before accepting the edge.
Try the editor
Remove backgrounds from your next image with RemoveBGAI
Remove BackgroundReader questions
Do I need Photoshop to remove background from image files?
Not for most everyday tasks. A browser-based remove bg tool handles product photos, portraits, logos, and signatures well enough for professional use without requiring Photoshop. Photoshop is still useful when the subject has very complex edges or the image needs detailed manual retouching after the initial cut.
How do I remove background from image files on mobile?
RemoveBGAI works in mobile browsers. Open the site, tap Upload image, and choose a photo from your camera roll. The removal runs in the browser the same way as on desktop. Export and save the result directly from the mobile browser.
Why does the edge look rough after background removal?
Rough edges usually come from a low-resolution or compressed source image. The model can only work with the detail that exists in the original file. Uploading a higher-resolution version of the same image often produces a significantly cleaner edge.